
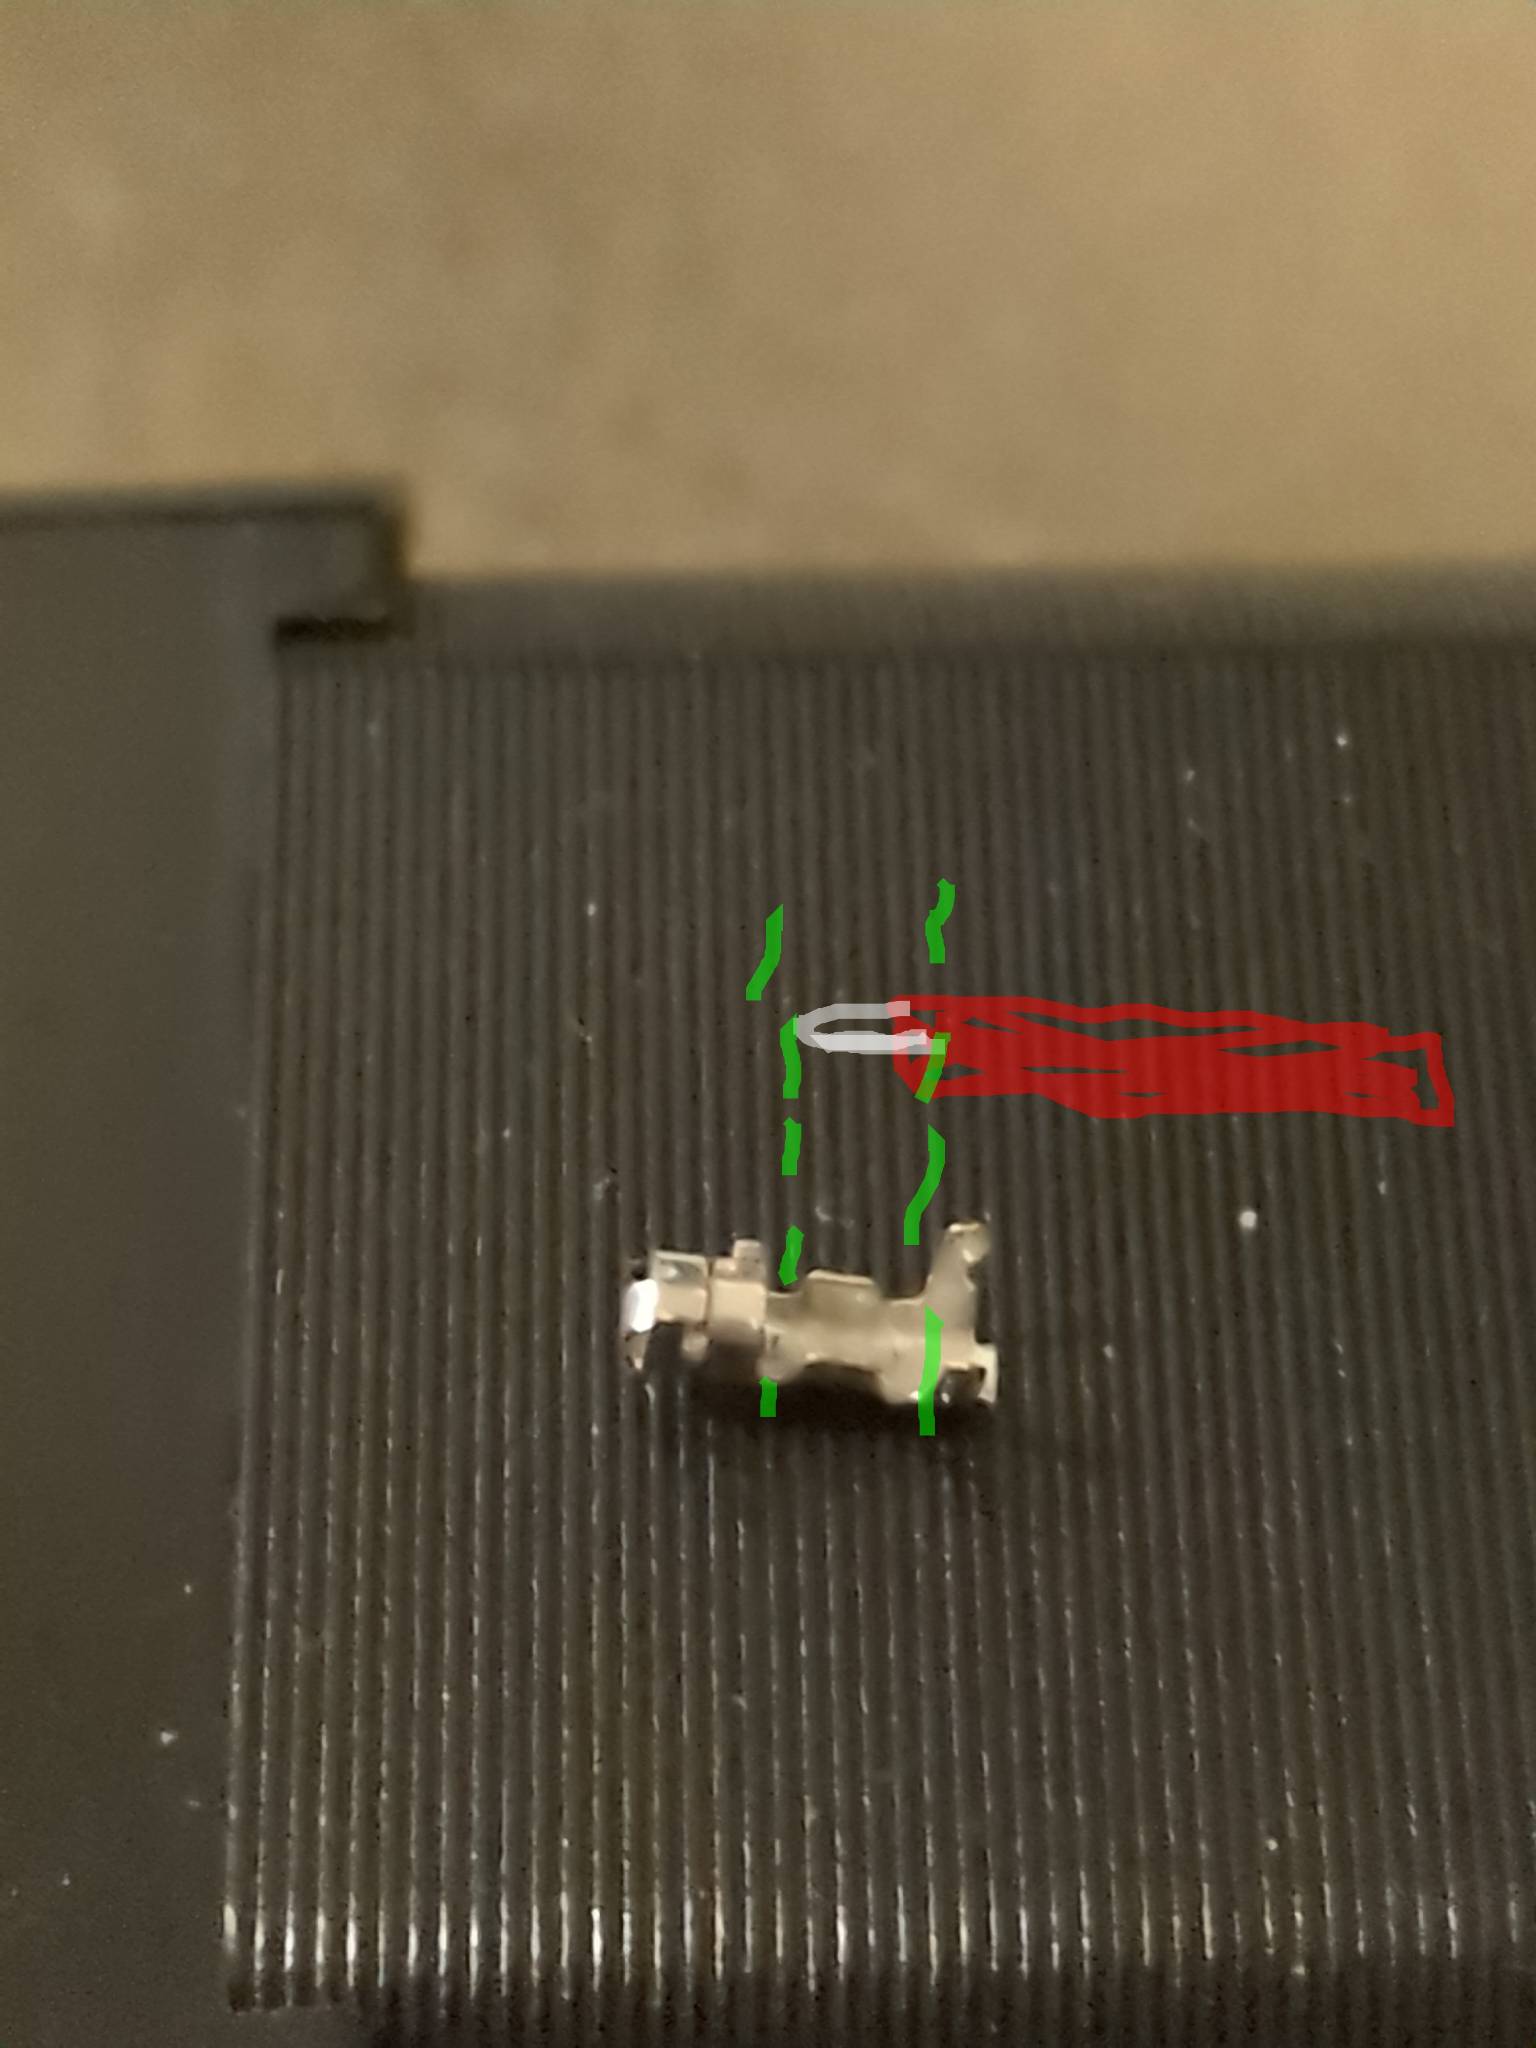
This was a switch that got its wires pulled out. I learned how to desolder today in order to remove it from the little switch board and now there’s three holes where this used to be. Does this component have a name, because I’m wondering whether I can just get a replacement one like this. There are lots of tools and supplies at the makerspace I used, but I need to know what I’d be looking for.
Alternatively, what else might I be able to use to do this? I suppose I could just trim and strip the wires and shove those through and solder, but that seems…crude? I don’t know. I’d prefer something with pins because I practiced soldering and desoldering using some broken electronics I had, and I’m more confident with pins than something so freeform.
Thanks for your time.
You must log in or # to comment.
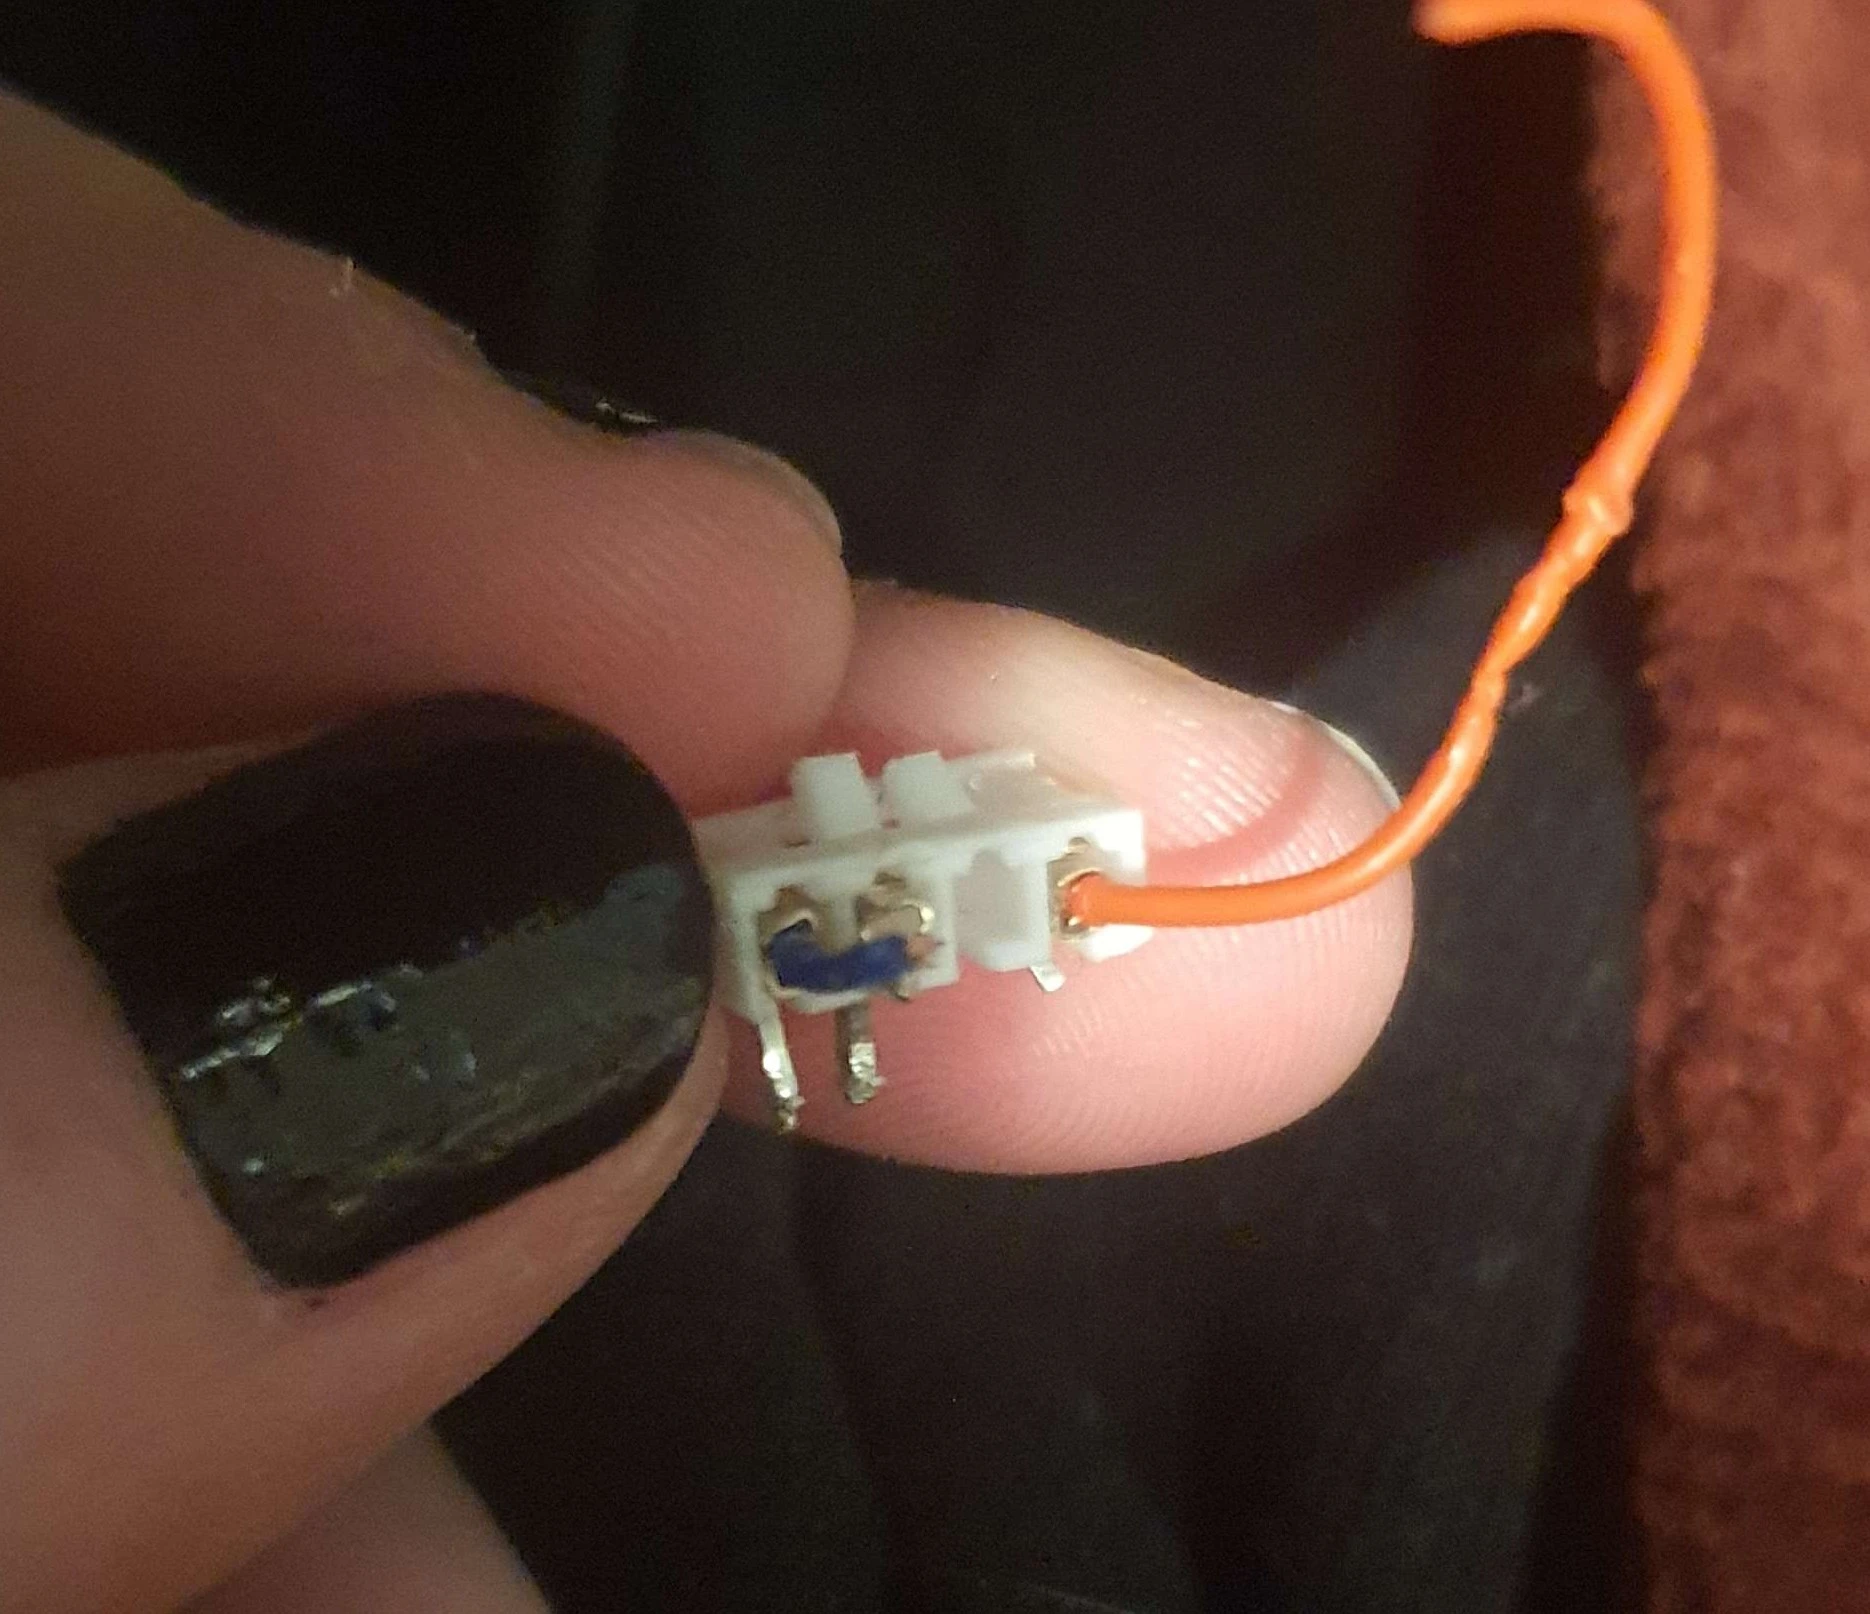
That looks like a 4x1 male JST connector.
If I’m repairing something like my washing machine I usually just hardwire stuff to the board so there’s no waiting for parts. Shopping around for connectors can be a pain but the important things to look are are pin diameter and pin pitch. Whenever I order I always get a male and female connector because the terminology doesn’t seem to be consistent across connector designs. You’ll also need a pinning tool for whatever style of connector you get, unless it uses solder cups or something.
Whenever I order I always get a male and female connector because the terminology doesn’t seem to be consistent across connector designs.
Heh, there are a lot of unusual designs that are neither and both too :D Connectors are wild.
As others have said they look like jst but I always get the sizes wrong so I just stock all of them. You need the metal crimp bits and the white housing, as well as a crimper.
You strip like 2mm of the wire sheathing and crimp the short blades over the bare wire and the long ones over the sheathing which gets punctured. The crimper curls the blades towards the center when aligned well. For the really tiny ones you need the crimper with the doubled up die that crimps both sets of blades at the same time. The bigger ones you might be able crimp each side separately if the tool fits. With the tool that does it in one go I use my fingernails or tweezers to place the crimp end in the die/jaws of the crimper, click the minimum number of times for it to stay while not bending it too much, then put the stripped wire in really carefully without bending the strands before squeezing the remaining clicks in the crimper. I’ve also seen people bend the bigger blades by hand to make it stay on the wire then put the whole thing in the tool but I can’t do it that way myself.
I moved most of my tools to my new place ahead of the actual move in date and the piece in the pic is just found on the floor or I would have sent better examples of the tools and some failed and successful crimps. I recommend the kit and anticipating a few wasted metal pieces because they are tiny and fumbly and the tool feels ridiculously huge.
It is a 4 pin(or 1x4) JST(?)wire connector. You need the measurements in millimeters of the connector and the distance between pin centers to know exactly what standard that is unless you have examples to guess and check.
The pins that make the connection do sort of need a special tool to crimp, but you can manage with standard wire crimpers and some doing.
It’s a 2.54mm JST-XH
